Nginx Proxy Manager
-
You can support more guides like this

- Version 1.00.00
- Create Date September 21, 2025
- Last Updated September 21, 2025
- Download 204
- File Count 1
- Installation Support Ask Support

| File | |
|---|---|
| npm.yml |
Expose your services easily and securely
About: https://nginxproxymanager.com
In this tutorial, i will show you how to install Nginx Proxy Manager using Docker Manager on your TerraMaster NAS.
Nginx Proxy Manager is a popular open-source project that simplifies the management of NGINX reverse proxy configurations, offering a user-friendly web-based interface for easy setup and maintenance. It was created by “jc21” (https://www.jc21.com/). This project is particularly useful for individuals and organizations looking to streamline the deployment of web applications and services by efficiently managing multiple domains and subdomains through a centralized interface. With NGINX Proxy Manager, users can effortlessly create and manage SSL certificates, enabling secure HTTPS connections for their applications, while also providing advanced features such as Let's Encrypt integration for automated certificate renewal. NPM itself does not include any WAF solution for effective Threat Prevention against modern attacks or Zero day attacks.
Download from above the npm.yml file and save it locally on your computer.
If you already have Docker Engine and Docker Manager apps installed, proceed to next step.
If not, follow this guide to install them: How to install Docker Engine and Docker Manager.
If you already have these 2 shared folders, proceed to next step.
If not, follow this guide to create the folders: How to create DockerYAML and DockerAppsData shared folders
For TOS5 and TOS6, we are going to run these containers as the superuser account (the account that was created during initial NAS setup).
For TOS4, we are going to run these containers as the root account.
If you already know your username id and group id from a previous container deployment, proceed to next step.
If not, for TOS6, the username id and group id for the superuser account should be both 0.
You can double check this by by running a command in terminal.
You can simple install the ttyd app and find your uid and gid following this guide: How to install and use ttyd app (share your terminal over web).
You can also use putty or any other SSH client and type id command. In this case, ssh service must run on your NAS.
For TOS6, you can use the builtin terminal app How to use in built Terminal on TOS6
Find your current time zone on this website, as example for Brussels is:
TZ=Europe/Brussels
Open Docker Manager by using the icon on the desktop or from the top menu.
Click on Project from the left menu and then on the small + icon to add new project.

- On the Project name type npm
- On the Project path type /Volume1/DockerYAML or use the Browse button to navigate and select the DockerAppsData folder
- Configuration file source select Your computer from the dropdown list
- Click on the folder icon to browse your local computer for the npm.yml file downloaded on Step 1.
After you select the file, click on Open.
The file will be loaded and the content will appear on the code section.
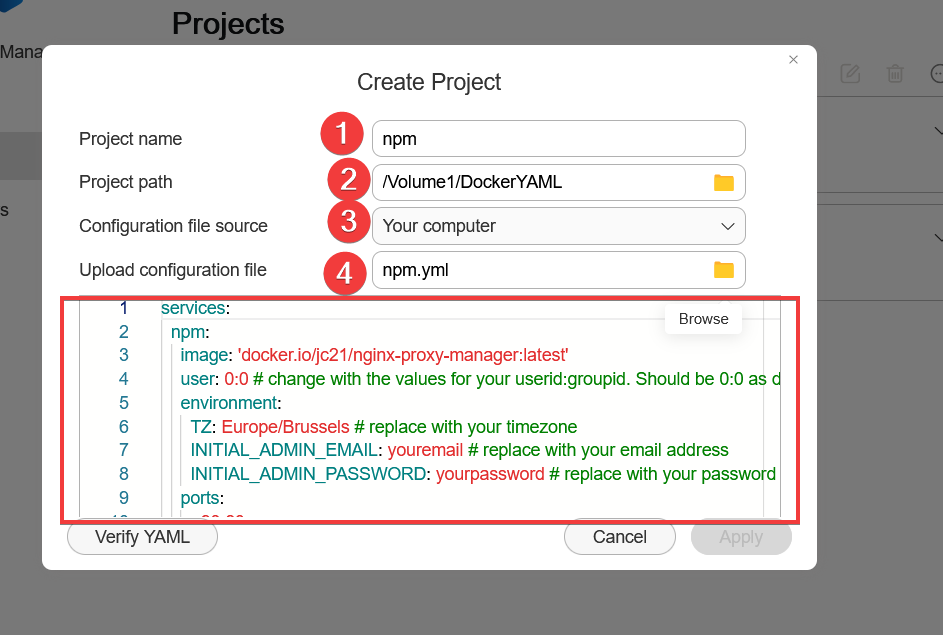
Before you proceed further, adapt the code to your particular values for these variables:
PUIDandPGIDchange to the values for your user found on Step 4.TZchange to the value for your specific zone found on Step 5.INITIAL_ADMIN_EMAILchange to your email addressINITIAL_ADMIN_PASSWORDchange to your desired password
Config files will be stored at /Volume1/DockerAppsData/npm
Scroll down in the code window to review the config.
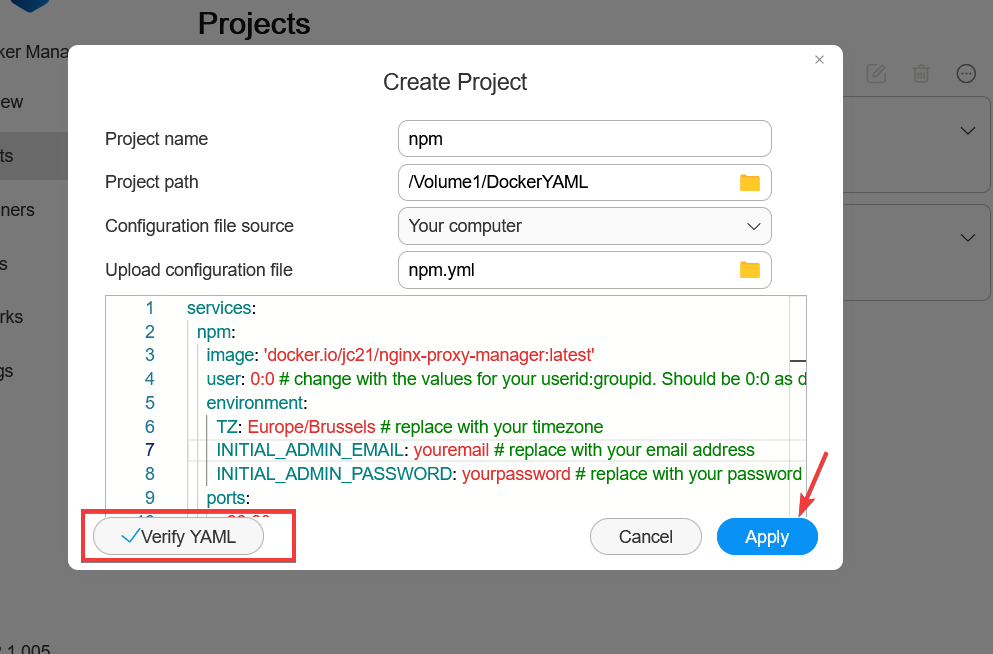
After you adapt all the required values, click on Verify YAML button. If the code is OK, the Apply button will become available.
Click on it to deploy the project.
The project will start building.
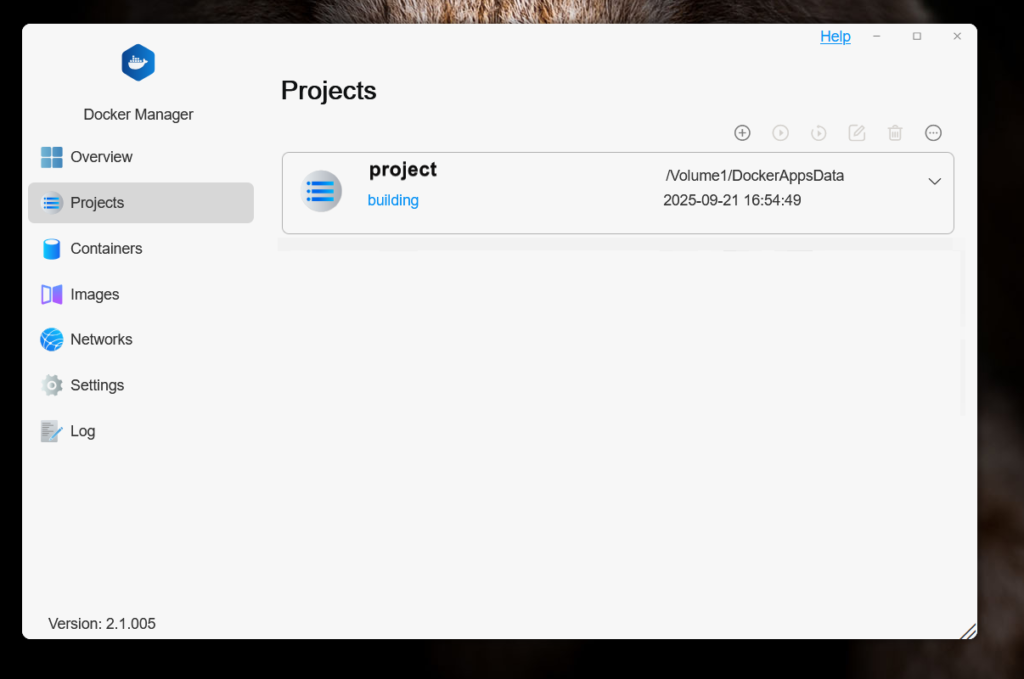
If the building went well, our project will show the status as Running.
When the project is selected, the buttons on top will be available from where you can stop/start the project, restart, delete or force stop.

Now go to Container section were you can see some info about the newly created container.
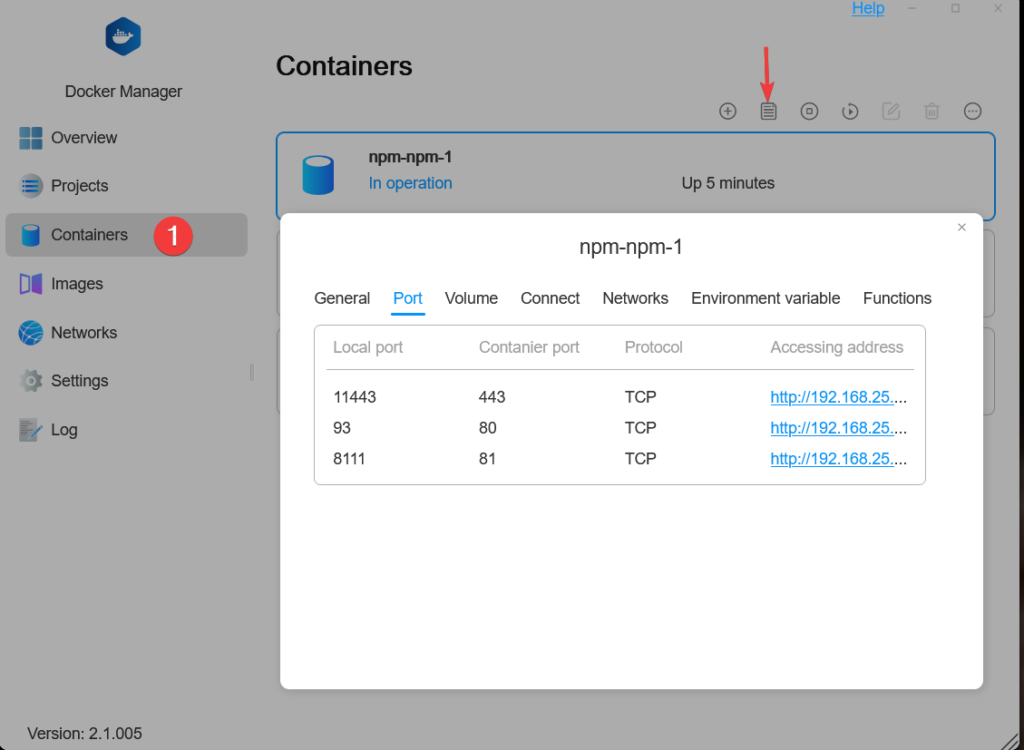
Port 80 and 443 are used by TOS, for that reason we have used for NPM port 93 for http and 11443 for https.
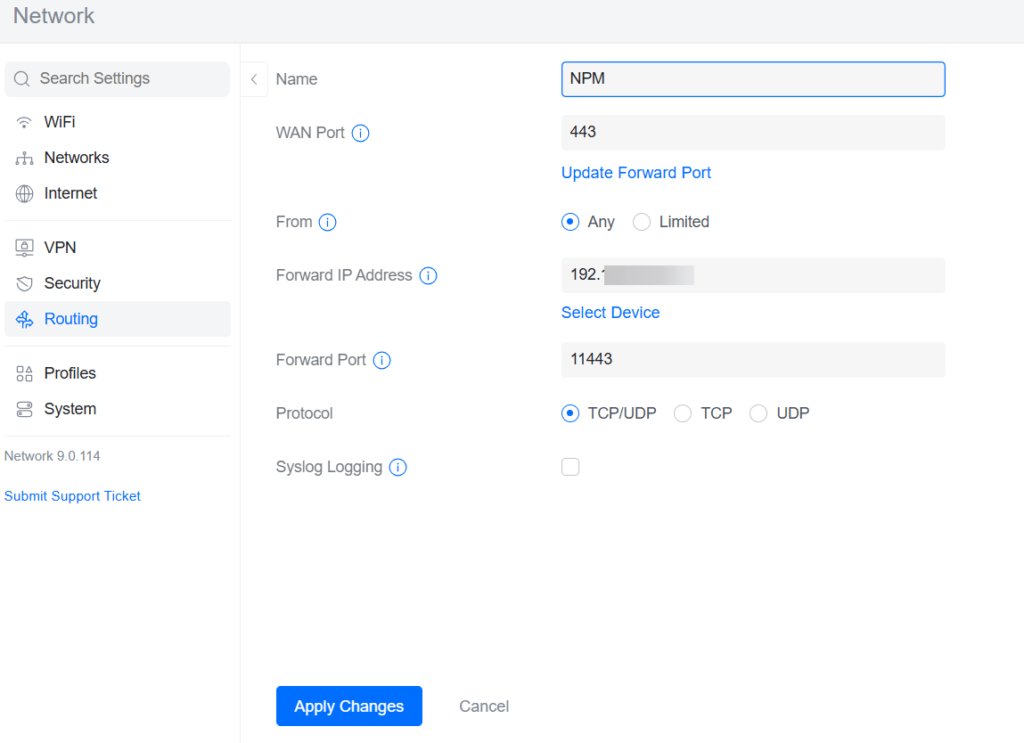
On your router, find the section for port forward and create 2 rules:
- WAN port 80 to your NAS IP port 93
- WAN port 443 to your NAS IP port 11443
Here how it looks on my router
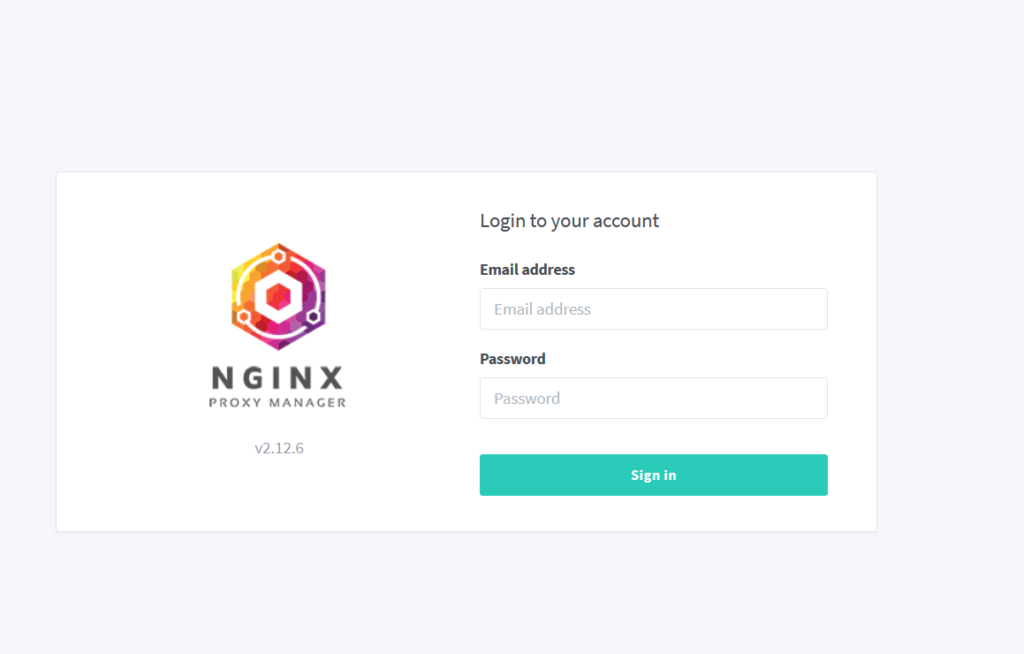
Navigate http://yournasip:8111 to access NPM admin page. Login with youremail and password from the yaml file.
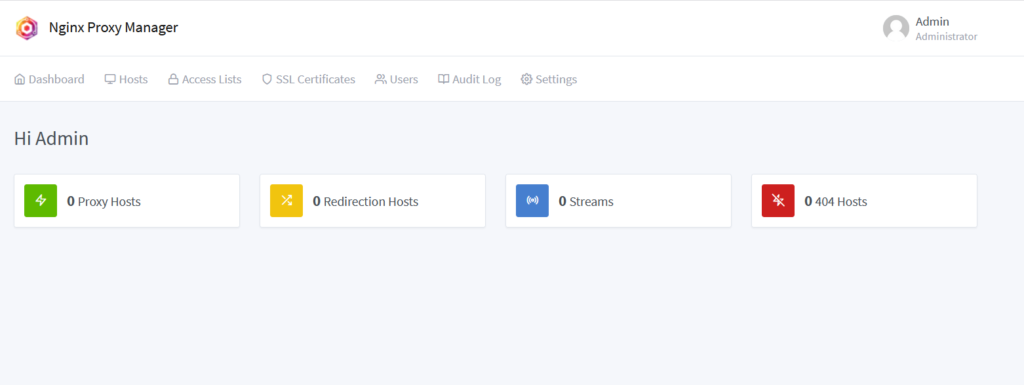
You are ready to add your first host.